If you haven't made a basic door yet, please review "How do I make a basic door?" This will help you understand how the BUILD engine handles doors.
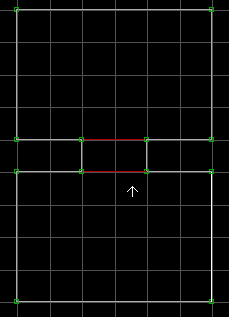
1. Start by making three (3) sectors. These are the usual two rooms with a connecting sector. The rooms on the map below were created with the grid on the largest setting.

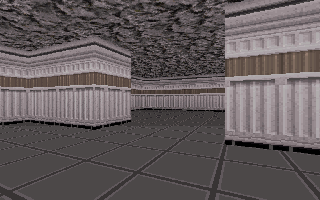
2. I've gone into 3D mode and textured the room to give it some atmosphere.
3. In 2D mode, switch to a lower grid mode and insert 4 points in the "door" sector (2 on the left side and 2 on the right side).
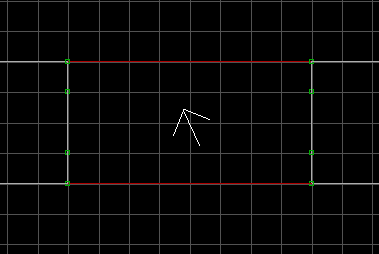
4. Stretch those 4 new vertices back.
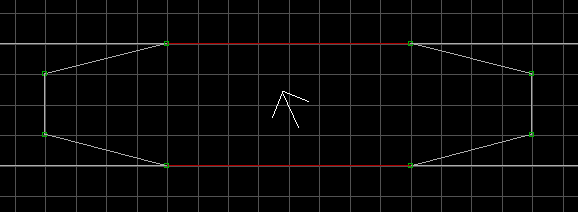
5. Now add a new vertex in each of those stretched lines and "square off" the lines.
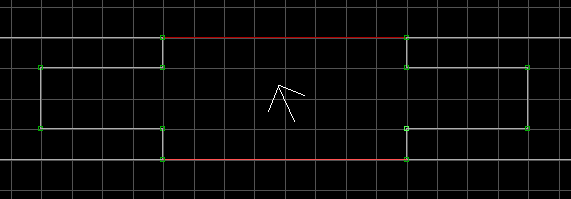
6. Go to the next smaller grid mode and insert 4 vertices in the ends of the door sector

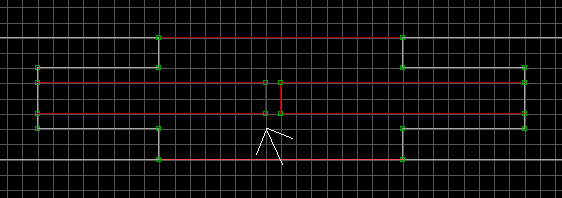
7. Draw 2 new sectors that will make up the 2 sides of our "Star Trek" door. You'll notice the doors are not fully closed. We'll get them working first, then move the ends of the doors together.
8. In 3D mode, I started bringing the ceiling down to the floor.
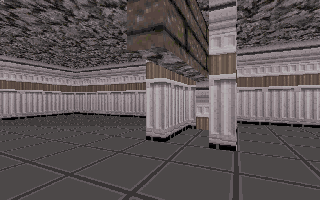
9. The ceiling is all the way down to the floor.
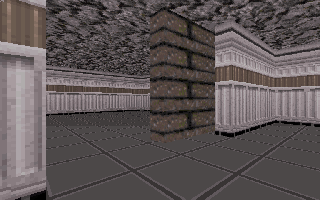
10. I've added some appropriate textures to the door. For the actual door texture, I used the shift key and the keypad to pan the texture so the opening of the door is up against the edge of the door's corner.
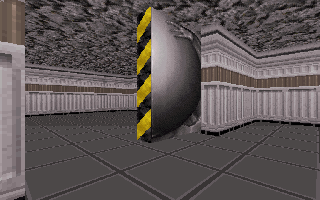
11. I repeated steps 8-10 on the other door (panning the texture so the opening is at the edge of the door).
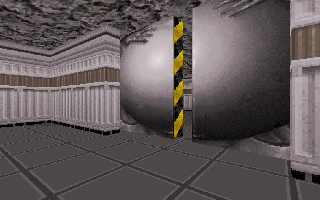
12. Go back into 2D mode and set the LOTAG of each of the door sectors to 25.
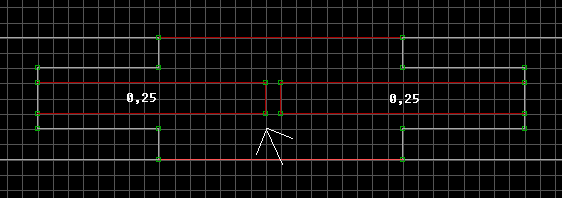
13. Add a sector effector (SE) sprite to each door sector. Make their LOTAG 15 and pick a unique number that is not used with any other sector effectors on your map. Set the HITAG of both SE sprites to that unique number. You'll also need to point the sprites in the direction the doors will close. Notice the white lines on the SE's pointing towards each other.
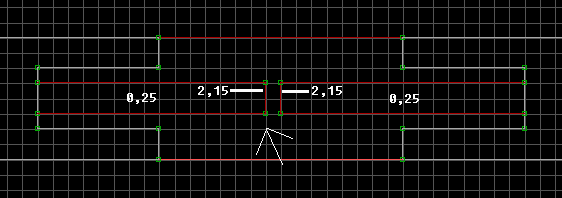
14. The doors are now setup. You may want to save the map and run it to make sure it's working. Once its working, move the four corners of the surrounding sector onto the corners of the door sectors (the extra vertices will be deleted)

(NOTE: I didn't recreate the SE sprites and the sector tag values for this graphic)
15. Now bring the other corners of the surrounding sector to match the four corners you just moved.

(NOTE: I didn't recreate the SE sprites and the sector tag values for this graphic)
16. Now make the four vertices of each door line up. The vertices are from different sectors so they will not merge into one.
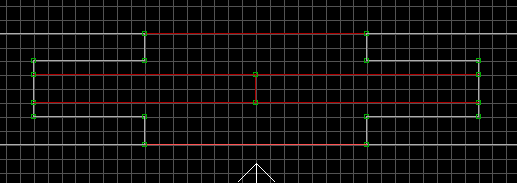
(NOTE: I didn't recreate the SE sprites and the sector tag values for this graphic)
17. Here's a final look at our "Star Trek" door in 3D mode.
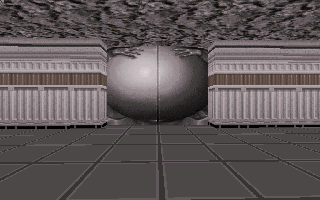
All Done! Save the map and go run it. Walk up to the door and hit the space bar.
If the door doesn't open, review the steps above and make sure you did everything right.
You'll notice the door didn't open very far (or very fast). One of those problems can be
fixed -- the GPSPEED sprite can be used to make the door travel farther not faster.
Throw in a GPSPEED sprite in each door sector with a LOTAG of about 450 and re-run
the map. You'll notice the doors will travel farther.
As usual, you'll need to add a MUSICANDSFX sprite for sound.
Download this map: door4.zip
This page will change as warranted by your comments, so please let me know if this helped you!