Subway's take a lot of setup (placing the locators for the subway track), but once you've done it a few times it becomes quite easy.
Just a few things you need to take note of:
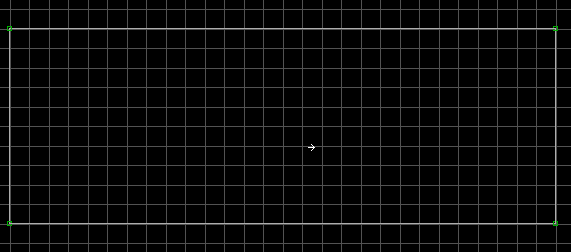
1. Start with a large sector for the subway to move in.
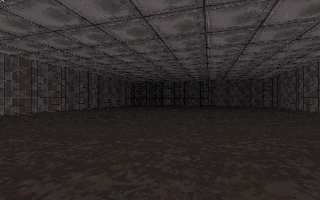
2. In 3D mode, I've added some texture to the sector. Please note that you MUST use
texture #859 (HURTRAIL) for the floor if you want Duke to get zapped when he stands on the
subway floor. There is no SE for this -- it's automatic with texture #859.
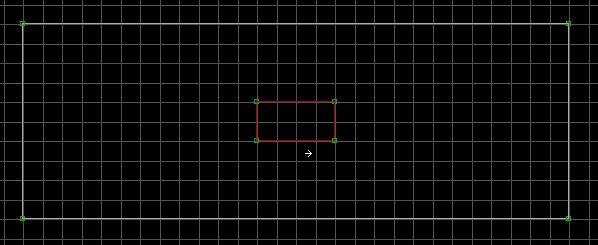
3. Go back to 2D mode and add a new sector where Duke can safely stand and wait for his
train. Remember to use ALT-S to make this new sector valid player space.
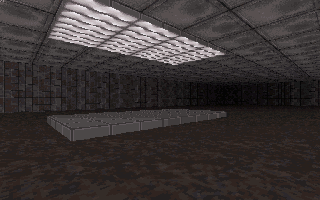
4. In 3D mode, I've textured this new sector and changed the floor/ceiling height.
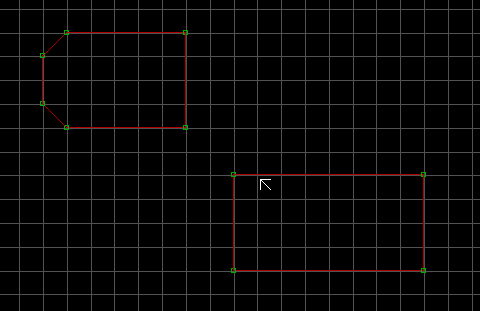
5. Now create another such square in the second sector. Remember to use the ALT-S
keypress to make the sector a valid sector. This sector will be our main subway engine
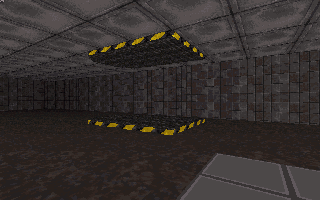
6. In 3D mode, I've added some appropriate textures for the subway. After picking a
floor and ceiling texture, point to the floor and press ALT-R. Then do the same with the
ceiling. This will make the texture "stick" to the floor. Without it, the BUILD
engine would update the texture on the floor as the car moves.
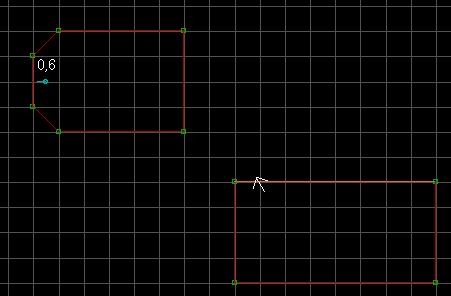
7. Place an SE sprite in the subway
engine sector. Give it a LOTAG of 6 (for
Subway). Notice I pointed the sprite to the left. That tells BUILD the direction of your
subway.
8. In this picture, I've placed 8 LOCATOR sprites (they look like this: ![]() the Blue 'L' with the small '+' sign next to it)
to define the track for the subway. I started the first one with a HITAG,LOTAG of 0,0. To
tell BUILD the next location, give the next LOCATOR a LOTAG of 1. Then the next will get a
LOTAG of 2, and so on... and so on...
the Blue 'L' with the small '+' sign next to it)
to define the track for the subway. I started the first one with a HITAG,LOTAG of 0,0. To
tell BUILD the next location, give the next LOCATOR a LOTAG of 1. Then the next will get a
LOTAG of 2, and so on... and so on...
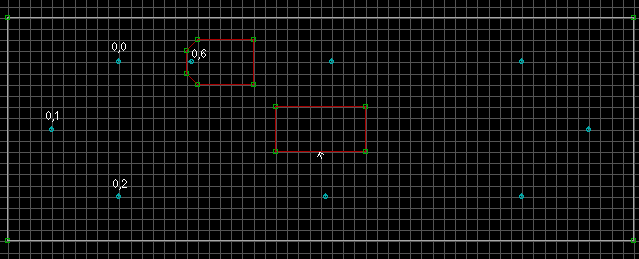
9. I've completed numbering all 8 locators with increasing LOTAGs. Make sure you don't
skip any numbers when assigning your LOTAGs.
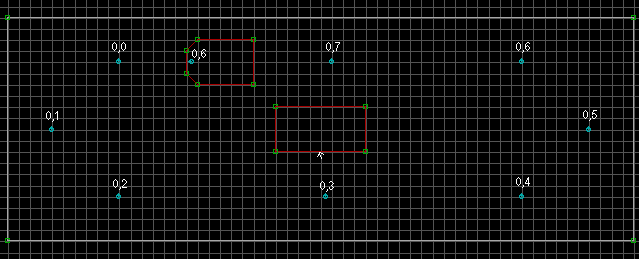
All Done! Save the map and go run it. If you created the map just as stated here, you'll notice it just keeps spinning around -- making it very difficult to hop on. What I forgot to explain above is that when you are assigning LOTAGs for all of the LOCATOR sprites, make the HITAG one (1) if you want the subway to stop there for five seconds. If you download the subway.zip file below, you'll notice that the last LOCATOR sprite has a HITAG of 1. Since this locator is right in front of the "train stop", I thought that would be a nice place to stop. You could have multiple LOCATORS with a HITAG of 1 and the subway will stop at each one. Just make sure your LOTAGs are correctly numbered in increasing order.
You can add detail to the subway engine by adding other sectors to the subway. However, pick a unique number and assign it to the HITAG of all of the sectors that make up the subway engine. To add one or more subway cars, do the same thing you did in step 5, 6 and 7 except use an SE 14 for each car instead of an SE 6. Also, if you add new sectors to a subway car, make sure you pick a unique HITAG number and assign it to all of the sectors that make up the car.
Download this map: subway.zip
This page will change as warranted by your comments, so please let me know if this helped you!
Patrick Steele
pjsteele@home.com
Copyright © 1996, Patrick J. Steele, Last Updated - 11/06/98 01:24 AM