Security cameras are very simple. There's a viewscreen sprite on a wall with a
HITAG value and there's a camera sprite somewhere in the map with a LOTAG equal
to the viewscreen's HITAG. You can set up multiple cameras with the same LOTAG to allow
Duke to cycle through different cameras on the map.
Update Info (12-29-96)
Here's some handy camera information from another Duke Level Editor, Jean-François Groleau 
I am not new to Duke3D but I am new to map editing
with Build. I have encountered a few problems setting up a camera and I have found a few
things which I feel, might be useful to other people. I can make no garantees, but I
believe the information here to be good as it was compiled through extensive trial and
error. Some of these things might not be new to you but hey! Some might. So here it is:
1. As we all know, the HITAG value of the camera sprite is the pan angle the camera
describes. This value represents a percentage or a slice, if you will, of 2048 (and not
360 like some claim).
2. Also this value is the arc that the camera will pan either side of its central
position. For example if you assign a HITAG of 512 which represents 1/4 of a full circle
(512/2048), the camera will pan 90 degrees from either side of the original orientation
line of the sprite, therefore a total of 180 degrees.
3. Although it is not absolutely necessary to use perfectly even slices of 2048 (like
1024, 512, 256, etc...), it makes for better control of pan angle. What is necessary
though, is not to use odd small values like 90 which causes the camera to slowly and
progressively offset its pan arc to the point that it will end up doing surveilance on the
wall behind it (not much point to that, is there?). I have found that using values like 64
instead (which is a perfect division of 2048) solves the problem entirely. I know it makes
for a short jerky arc but some people might want that.
4. Another hitch I have encountered is the ['] S key combination. It's supposed to alter
the (shading) camera azimuth or pointing angle. In my case, it makes BUILD hang if I'm
running BUILD in one of the higher resolutions. When using BUILD in standard 320x200 mode,
the ['] S key combination does not hang BUILD.
Let's Go!
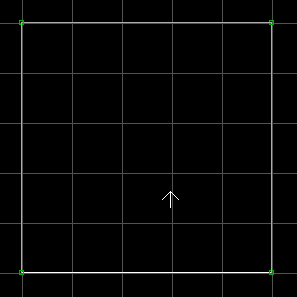
1. Start by using the spacebar to create a large square sector.
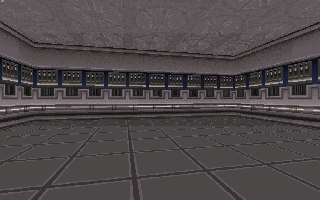
2. In 3D mode, I've raised the ceiling and added some texturing.
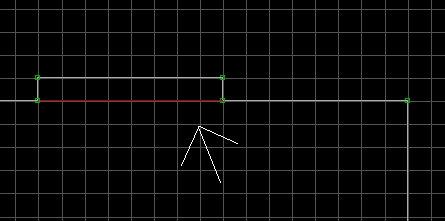
3. In 2D mode, switch to a smaller grid scale. In the upper right-hand corner, insert
two points and add a new sector off the exising one.
4. Go into 3D mode and raise the floor and lower the ceiling to make a "nook"
for the security terminal.
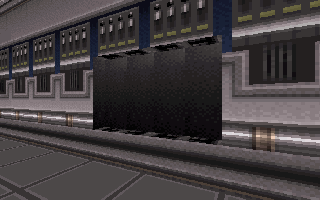
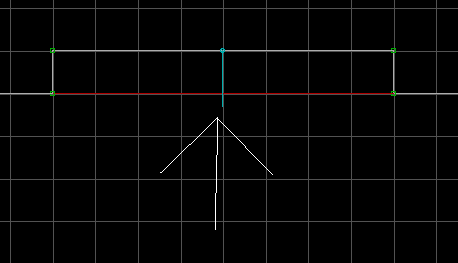
5. In 2D mode, place the cursor in the center of the back line and press 'S' to insert a
sprite. If the sprite is not pointing down, use the '>' and '<' keys to rotate it.
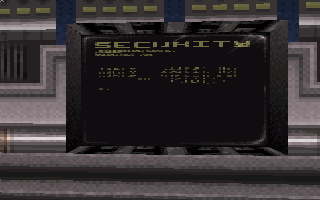
6. In 3D mode, point at the sprite, press 'V' twice, and select texture #502 VIEWSCREEN.
You will have to size it with the numeric keypad to fit in the "nook".
7. In 2D mode, switch to the next smaller grid scale and insert two new points on the left
and right lines of the "nook".

8. Now connect those two points.
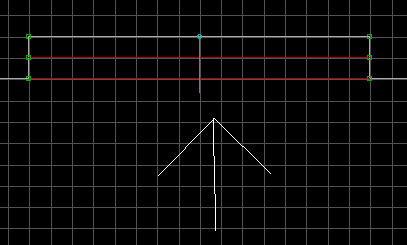
9. Point to each line and hit 'B' to block Duke.

10. In 3D mode, point on the floor of the first sector of the "nook" (the sector
closest to the large room) and press 'M' to mask the wall (the default brown brick texture
will probably appear).
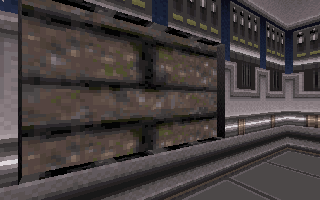
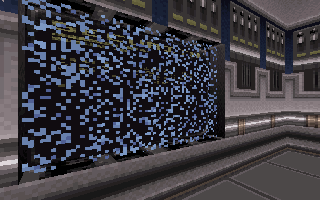
11. Point at the mask texture that popped up and hit 'V' twice. Select texture #663
W_FORCEFIELD. Now point at the force field texture and hit 'H'. This will make the wall
hittable, or (in other words), projectiles will not pass through it.
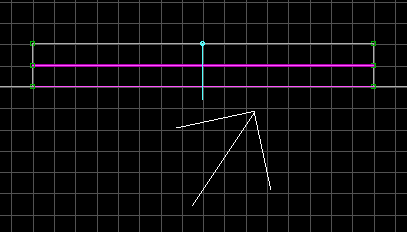
12. Looking at the lines in 2D mode, the middle purple line should be think to indicate it
is blocking Duke and hittable.
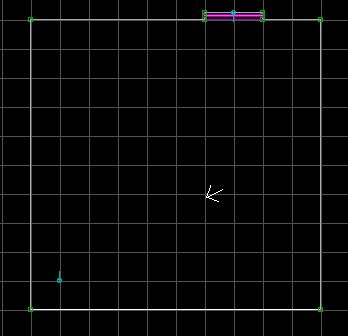
13. In the bottom left hand corner of the sector, press 'S' and insert a new sprite.
14. In 3D mode, point to the sprite and hit 'V' twice. Select texture #621 CAMERA.
Point at the the sprite and hit CTRL-PGUP to put the camera on the ceiling.
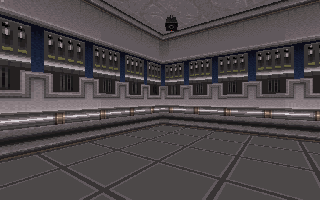
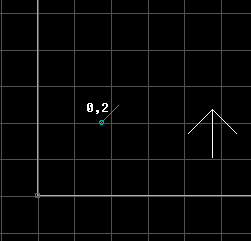
15. Use the '>' and '<' keys to turn the camera towards the upper right hand
corner. Pick a unique number and assign a
LOTAG to the sprite. For this example, I've picked 2 as my LOTAG.
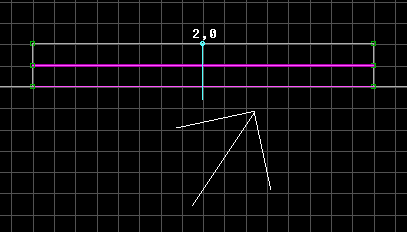
16. Now, use the LOTAG value from the previous step and place that number in the
VIEWSCREEN sprite's HITAG
All Done! Save the map and go run it. Walk up to the security screen and hit the
space bar (or whatever key you use to press switches). If you don't see anything, review
the steps above and make sure you did everything right.
You can make the camera turn by giving the camera sprite a HITAG value. I haven't noticed any definite pattern in terms of a HITAG value and how many actual degrees the camera turns. You'll have to determine that based on your map. To make the camera point down, point to it and hit the '+' key to increase it's shade (this tilts it down).
Download this map: camera.zip
This page will change as warranted by your comments, so please let me know if this
helped you!